Since version 7.1 of Umbraco was released the core now contains a great image cropper. Not only that. It also contains a great image processing library called ImageProcessor written by James South (@james_m_south).
The image cropper in Umbraco 7 is really a piece of art based on the CropUp-package from Umbraco-genius Niels Kühnel (@nielskuhnel). The big “news” with the cropper is something called a “focal point” that the editor can set. When this point is in place Umbraco is smart enough to figure out any crop based on this point. This means that you don’t have to force the editor to make 20 different crops, they can just set the focus point and the different crops will be generated. We’re going to explore this more in this post and I'll show you how to quickly set up the image cropper and render the cropped image on the front end of your website.
Here is how you do
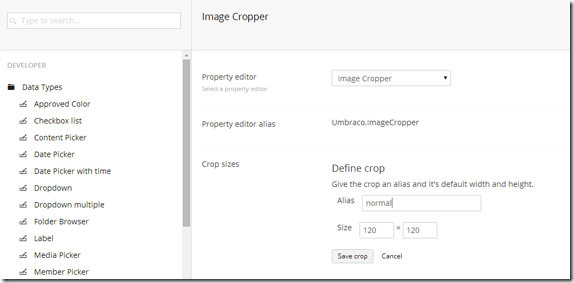
1. Set up the data type in the developer-section of Umbraco 7. Right click data types and create a new data type. Let's call it "Image Cropper".
2. Just as with the cropper from earlier versions of Umbraco we now need to set up one or more crops. Let's just use a simple crop of 120x120 px.
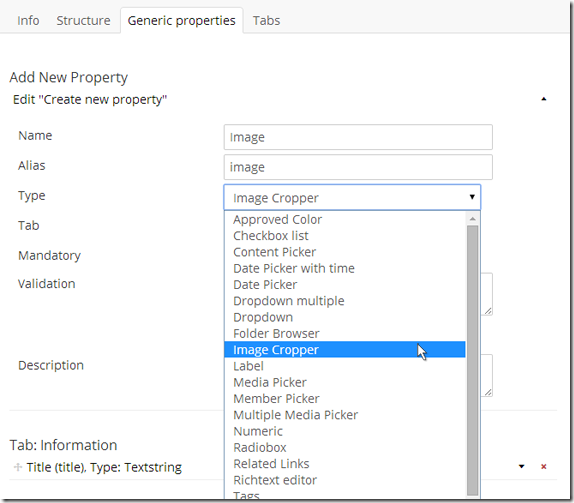
3. Next, we need to add this data type to one of our document types. Let’s go and do so in the settings-section. I’m giving my new property the name “image” but you can choose what ever name that suites you’re solution.
4. Now let’s upload an image and set the focus point by dragging the blue dot to the part of the image that we want to focus on. Let’s don’t create any special settings for the 120x120 crop that we created – just hit “Save and publish”.
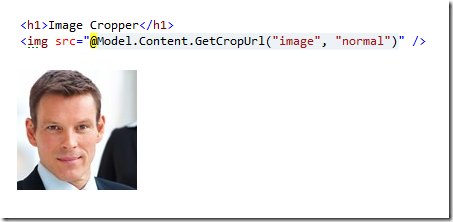
5. Let’s go to the settings-section and open the view/template for the document type that we’ve added the image cropper to. To render the crop in on the page we need to use a method called GetCropUrl() from the IPublishedContent-type in Umbraco. Let’s add this code the view and load the page in the browser.
<img src="@Model.Content.GetCropUrl("image", "normal")" />
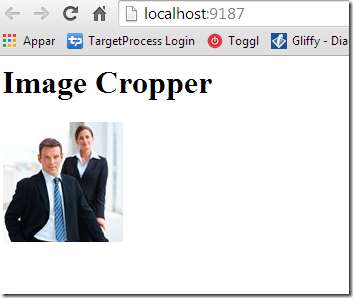
The first parameter is the alias of the property and the second is the name of the crop, this should look something like this.
6. As you can see Umbraco 7 created a crop based on the focus point that we provided. To prove that this really works, let’s ignore the “normal” crop and set the width and height in the method call.
<img src="@Model.Content.GetCropUrl(propertyAlias:"image", width:300, height:100)" />
This will generate an image that’s 300x100 pixels, still with the face in focus
7. Now, let’s try to move the focal point and look at the resulting crop
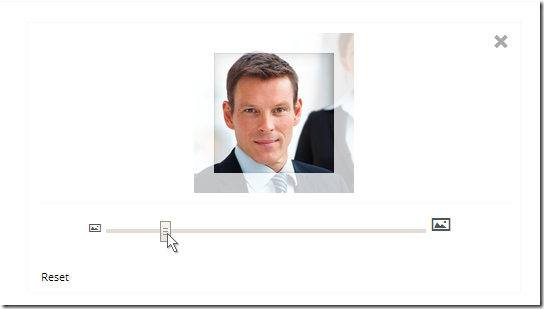
8. But, if we don’t like the default crops that Umbraco generates we can of course change them to look exactly like we want. Update the view-code to use the “normal” crop again and open the node with the crop back to the content-section. Click on the little thumbnail under the big picture, in the dialog that appears. Drag the slider to zoom and drag in the picture to adjust the part that you want to keep in the crop – click the “cross” in the upper right corner to save the custom crop beforeyou click save and publish.
9. Going back to our view and refreshing the page will show our new crop
The GetCropUrl()-method has a lot of properties that’s optional like width, height, quality, useCropDimensions, cacheBusterValue, ratioMode, upScale – see the source code of Umbraco 7 for more info on what they all means.
Hope you enjoy the new image cropper in Umbraco 7, follow this blog for most posts about Umbraco and please also follow me on twitter: @enkelmedia.
Tip: Looking for a integrated newsletter solution for Umbraco? Check out Newsletter Studio - sends newsletter from directly from the Umbraco backoffice.


